How to Convert Videos into Blog Posts Automatically with Make
Have you ever wondered how to turn those engaging videos into powerful blog posts without spending hours transcribing them? You’re not alone! Content creators everywhere are looking for efficient ways to repurpose their video content. Here’s an exciting stat: According to HubSpot, 54% of consumers want to see more video content from brands they support. But what if you could double your content output by automatically converting these videos into blog posts? That’s where Make comes in! This comprehensive guide will walk you through transforming your videos into SEO-friendly blog posts using Make‘s powerful automation features.

Let’s dive in!
Step-by-Step Video to Blog Post Conversion Process
Before we dive into this step-by-step guide, I’ll show you how to transform a video into a blog post.
Check out my previous article to learn more about my detailed transcription process. This guide will focus on a quicker transcription method to keep things moving!
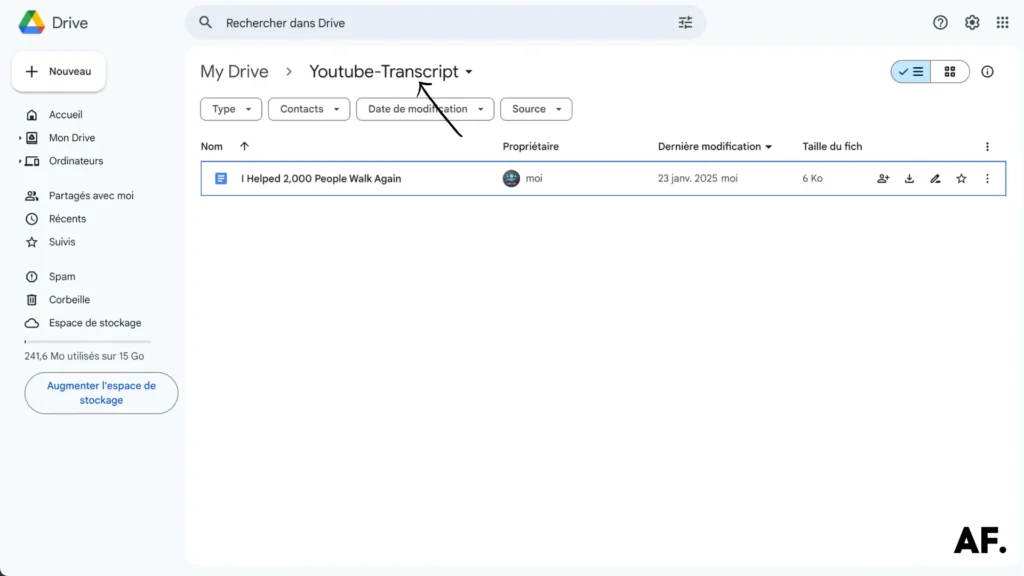
Step 1: Create Folders
First, create a dedicated ‘YouTube Transcript‘ folder in your Google Drive. This will help keep all your transcripts organized and easily accessible!
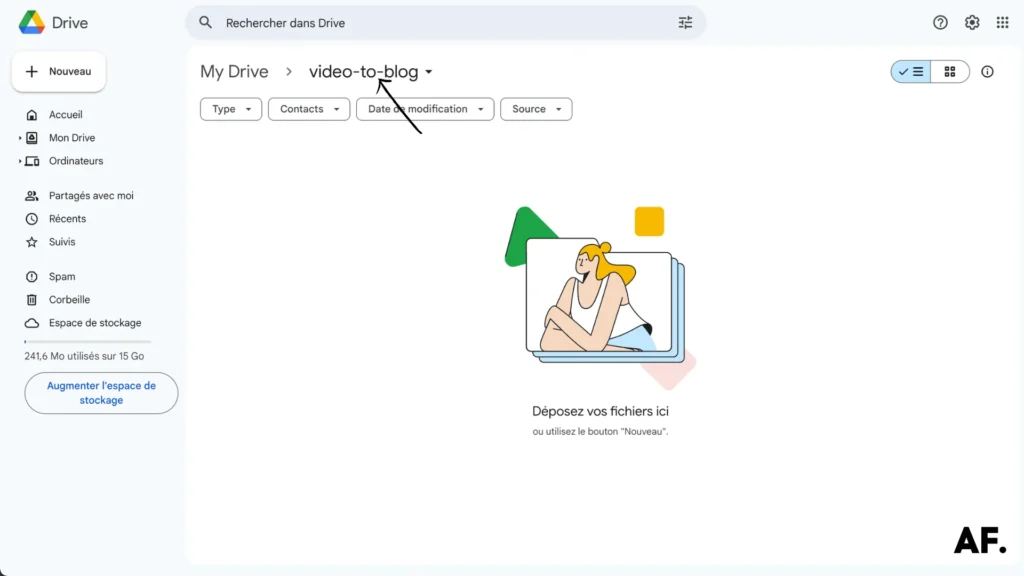
Next, create a new folder called ‘Video to Blog‘ in your Google Drive. This will be our workspace for transforming your video content into engaging blog posts!
Step 2: Create Your Scenario
The next step is to create your scenario. Good news – signing up to Make is completely free! If you already have an account, go to your organization and create your new scenario.
Step 3: Start Building
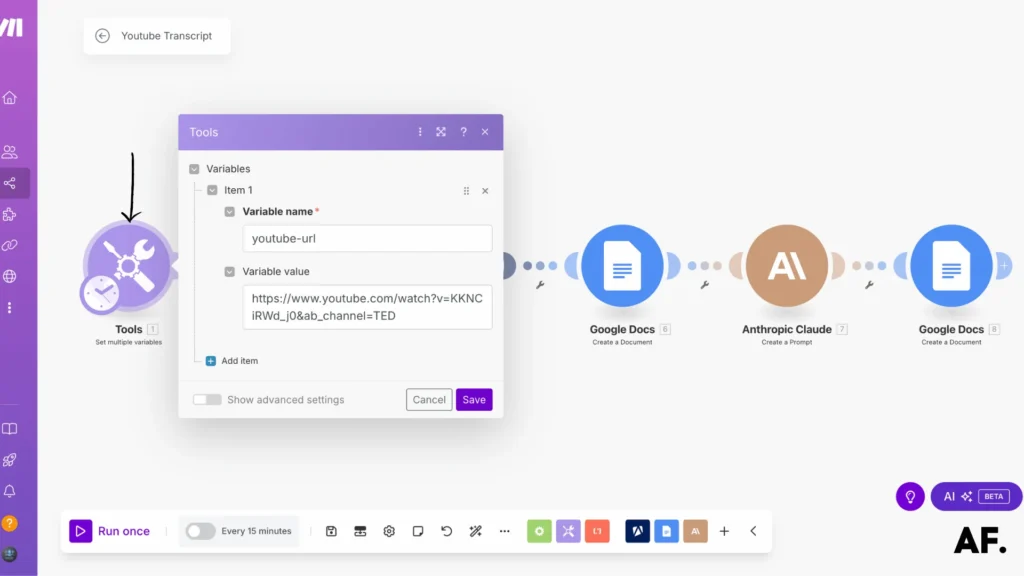
Now for the fun part: Let’s start by creating your first module. We’ll begin with ‘Set Multiple Variables‘ – this will be the foundation for automating your workflow!
Step 4: Add Apify
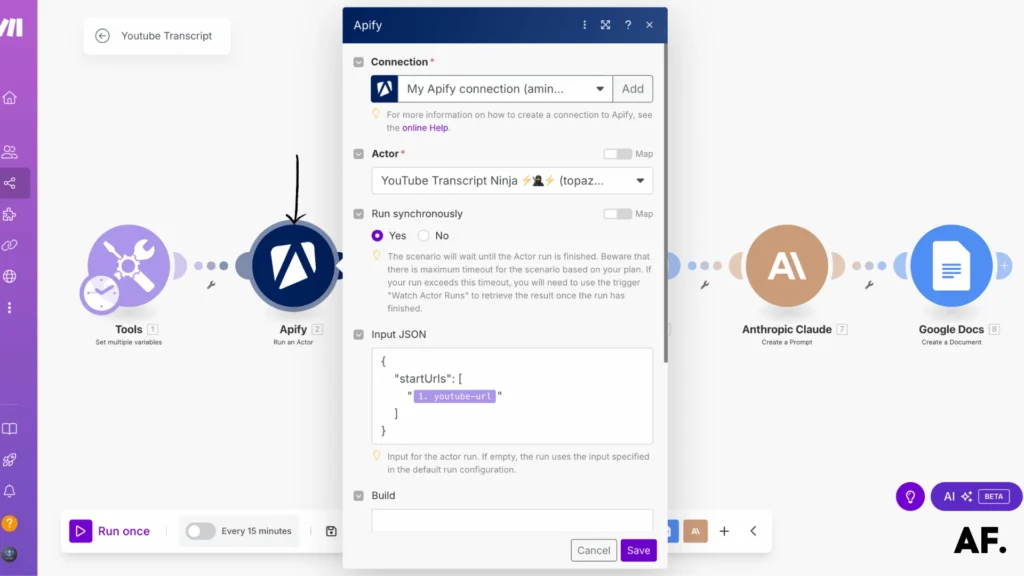
Next, add the powerful ‘Run an Actor‘ module from Apify. Here’s how to set it up:- Select ‘Run an Actor‘ from the Apify options
- Configure it just like I have below
- Don’t forget to select ‘Yes’ for running synchronously
- Finally, add your JSON configuration
Trust me, this step will make magic happen with your automation!
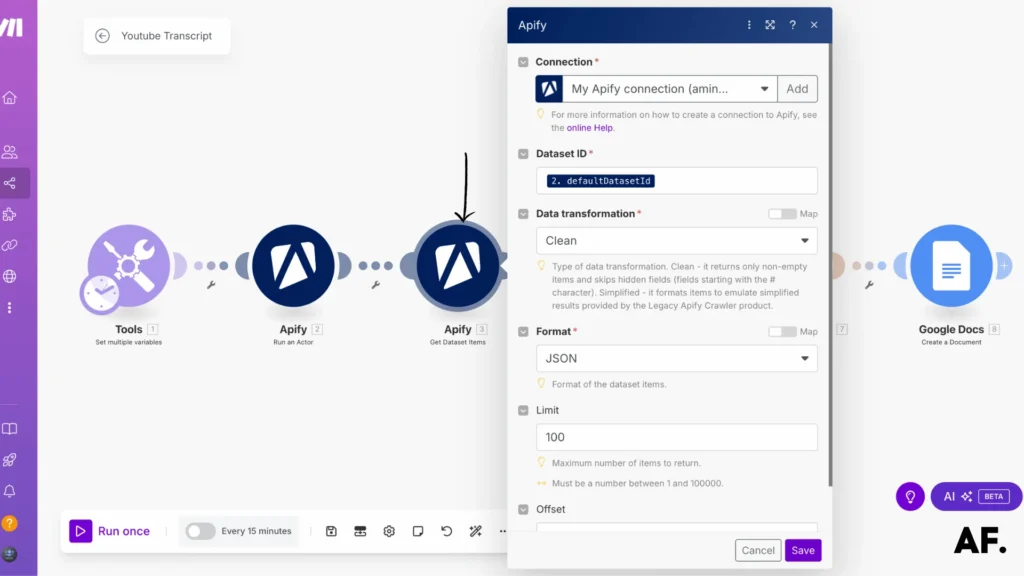
It’s time to add the ‘Get Dataset Items‘ module—this is where things get interesting! When setting it up, here’s the important part: in the dataset ID field, connect it to the ‘defaultDatasetId‘ value from your previous ‘Run an Actor‘ module. This connection is key to making everything work smoothly!
Step 5: Add Google Docs
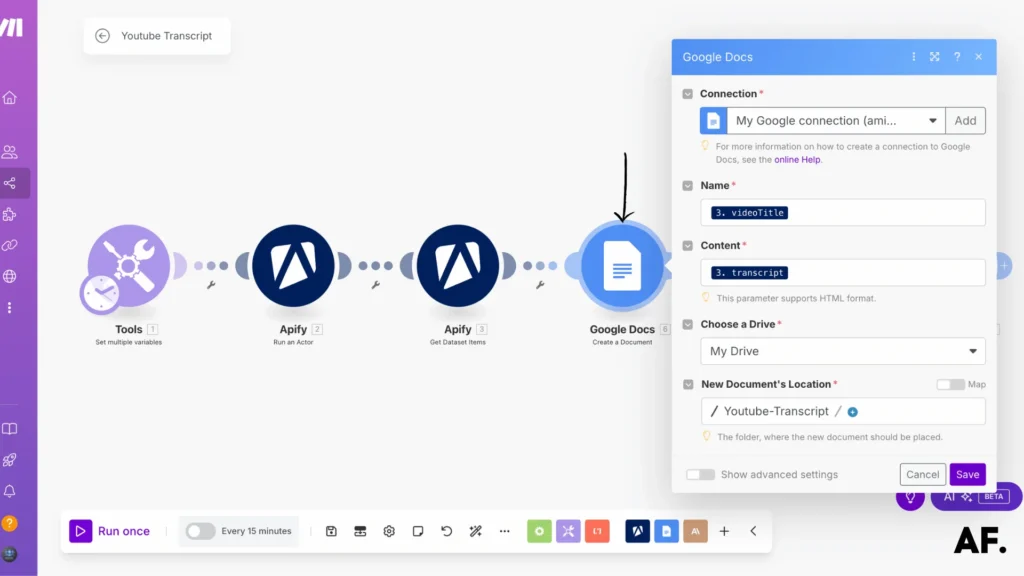
Now, let’s add a Google Docs module to handle our transcript. This is where all that video content will be transformed into a clean, editable document. Add the ‘Google Docs‘ module to your workflow, and we’ll get ready to organize your transcript beautifully!
Step 6: Claude AI
Now for the game-changing part: we’ll harness the power of AI to transform your transcript into a polished blog post! This is where your content gets a professional makeover, turning your spoken words into engaging written content that your readers will love.
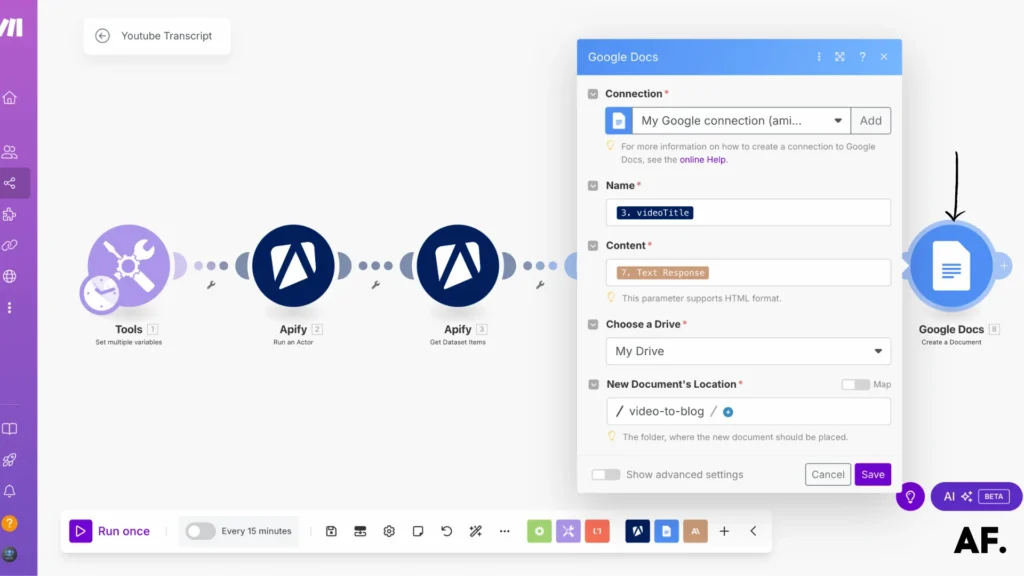
Step 7: Google Docs for Blog Post
For our final step, we’ll create one more Google Docs module. This is where the magic comes together – all the AI-enhanced content will be automatically saved into a fresh document, giving you a beautifully formatted blog post ready for your review!
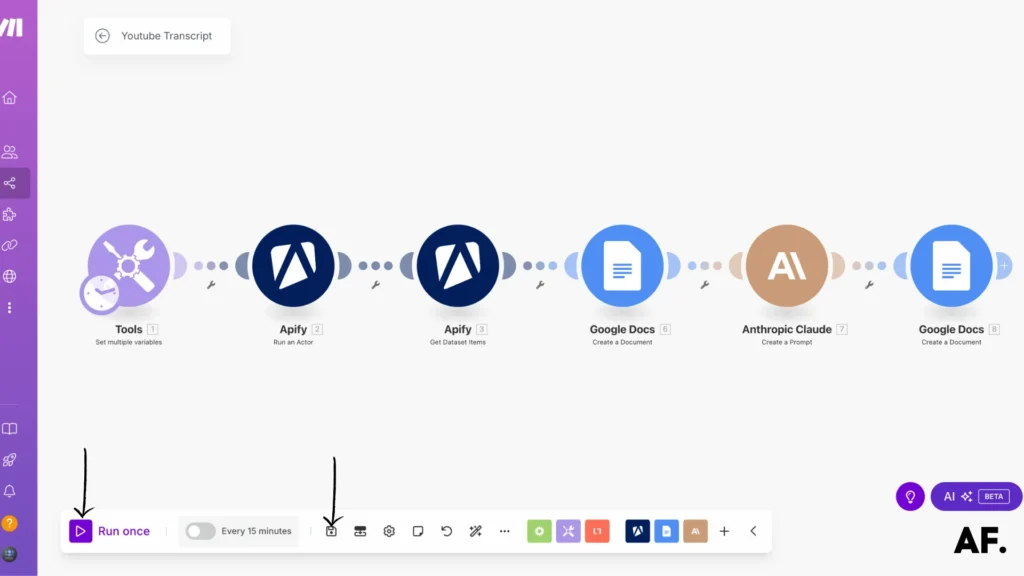
Step 8: Save And Run
That’s it – time to bring everything together! Click ‘Save‘ to lock in all your hard work, then hit ‘Run’ to watch your scenario come to life. You’ll automatically see your video transform into a polished blog post in just a few moments!
Step 9: Results
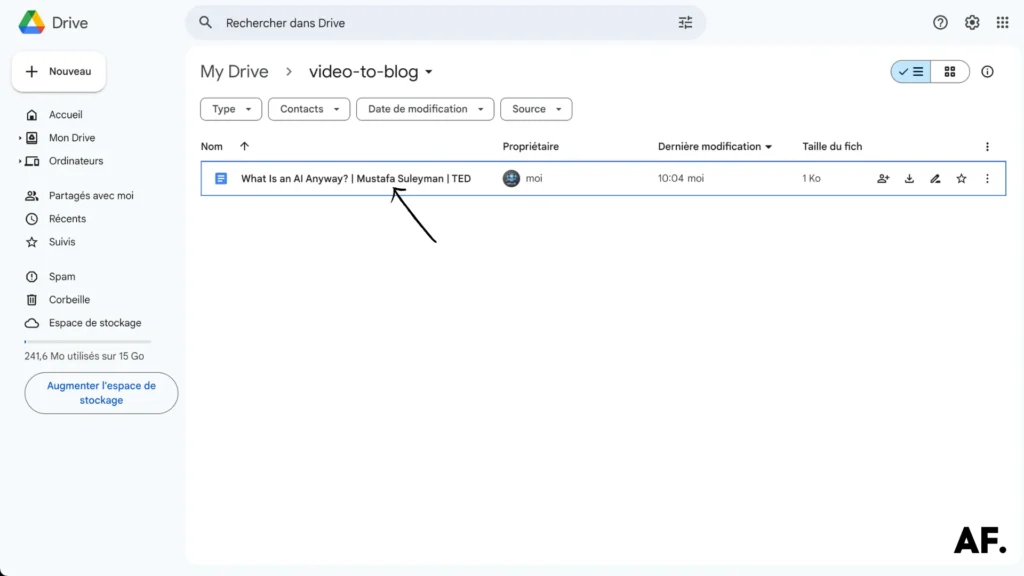
And voilà – your automated system is now complete! Look at your Google Drive folder, where your freshly generated transcript is stored and organized. It’s pretty amazing how we’ve automated this whole process, right? Your video-to-blog conversion is now just a click away!
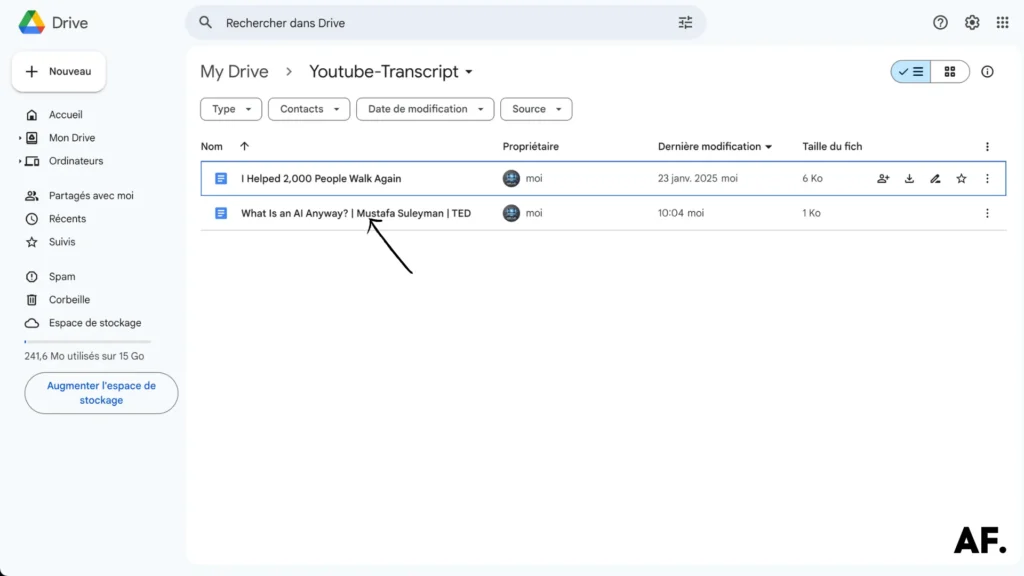
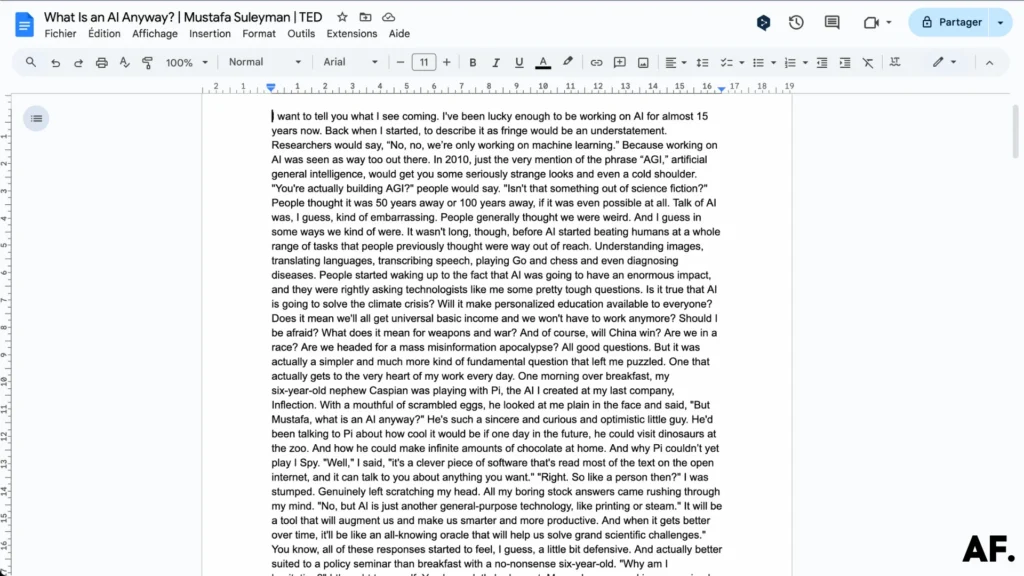
Let’s take a peek at what our automation has created! Below is the raw transcript that was automatically generated from your video. This is your content in its purest form, ready to be transformed into an engaging blog post!
Success! Your polished blog post has been automatically created and safely stored in the designated folder. Everything is exactly where it should be – we’ve successfully turned your video into a well-organized, ready-to-publish blog post. How’s that for efficient content creation?
And now for the exciting reveal – here’s what your AI-transformed blog post looks like! Notice how the raw transcript has been shaped into a polished, reader-friendly article. Each paragraph is thoughtfully structured, making your content more engaging and easier to read than ever!
The possibilities are truly endless from here! Let me show you how you can take your automated blog creation to the next level:
Want to customize your content? You can easily fine-tune the Claude AI prompts to match your unique writing style. Or why not experiment with other AI tools? ChatGPT and Perplexity can each bring their unique touch to your content.
Integrating AI-generated images from Midjourney or similar tools can make your blog visually stunning and bring your posts to life!
Just remember: while automation is amazing, always take a moment to review and polish your blog post before hitting publish. Add your touch, check accuracy, and ensure everything aligns with your brand’s voice.
This workflow is just the beginning – feel free to modify and expand it to create your perfect content creation system!
Conclusion
Converting videos into blog posts doesn’t have to be a time-consuming process. With Make’s automation capabilities, you can efficiently repurpose your video content while maintaining quality and engagement. Start implementing these steps today to expand your content reach and save valuable time in your content creation process. Remember, the key is maintaining authenticity while leveraging automation to its fullest potential.
Join the Newsletter
Subscribe to get our latest content by email.
We won’t send you spam. Unsubscribe at any time.
✅ You’re subscribed!
FAQs
Q: How do I turn a video into a blog post?
A: Use an automated workflow with Make.com to generate a transcript, then use AI to transform it into a polished blog post. The process involves creating a scenario that connects YouTube transcripts with AI writing tools for quick conversion.
Q: How do I embed a video into a blog post?
A: Copy your video’s embed code from YouTube (click Share > Embed), then paste it into your blog post’s HTML editor. Most blogging platforms have a dedicated embed block or widget, making this process even simpler.

Further Ressources
- How to Convert a PDF to Text in Make
- How to Run Custom Code on Make: Step-by-Step Guide
- The Ultimate Guide to Data Mapping in Make
- How to Automate Google Reviews with Make
- How To Handle Errors In Make: A Complete Guide
- How To Use Variables in Make
- How to Extract an Item from an Array in Make
- What Are Make’s Data Iterators & Array Aggregators? Full Guide