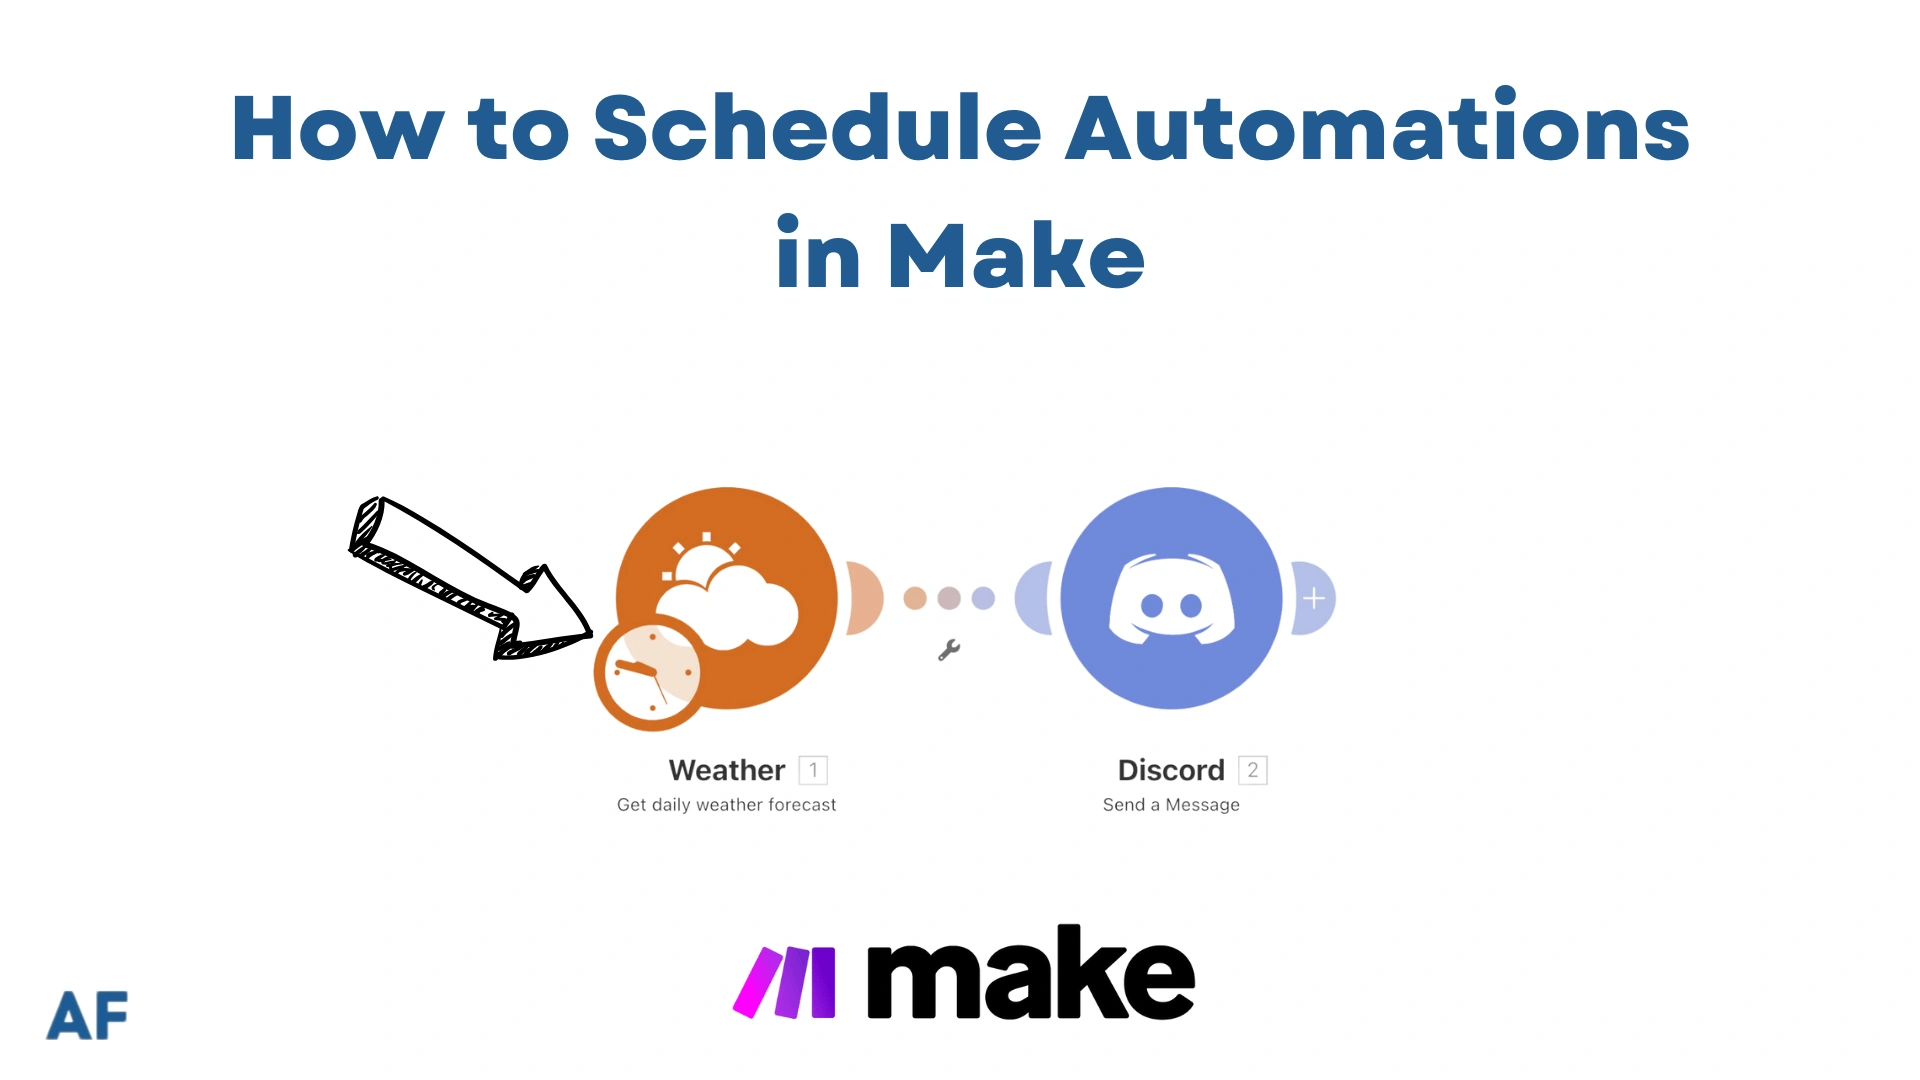
How to Schedule Automations in Make
Have you ever wondered when exactly your Make automation should run? You’re not alone! As someone who’s spent countless hours optimizing workflows, I can tell you that proper scheduling is absolutely crucial for automation success. Did you know that up to 60% of employees could save 30% of their time with workflow automation, according to a McKinsey estimate cited by Formstack?
This comprehensive guide will dive deep into Make’s scheduling capabilities and show you exactly how to time your automation for maximum efficiency! We will also give you an example of how you can automate and show you different types of scheduling you can use on Make.

Let’s go!
What You’ll Learn
This guide will show you how to:

- Set up an automation workflow.
- Send Notification.
- Schedule your automation.
Setting Up Basic Scheduling Parameters
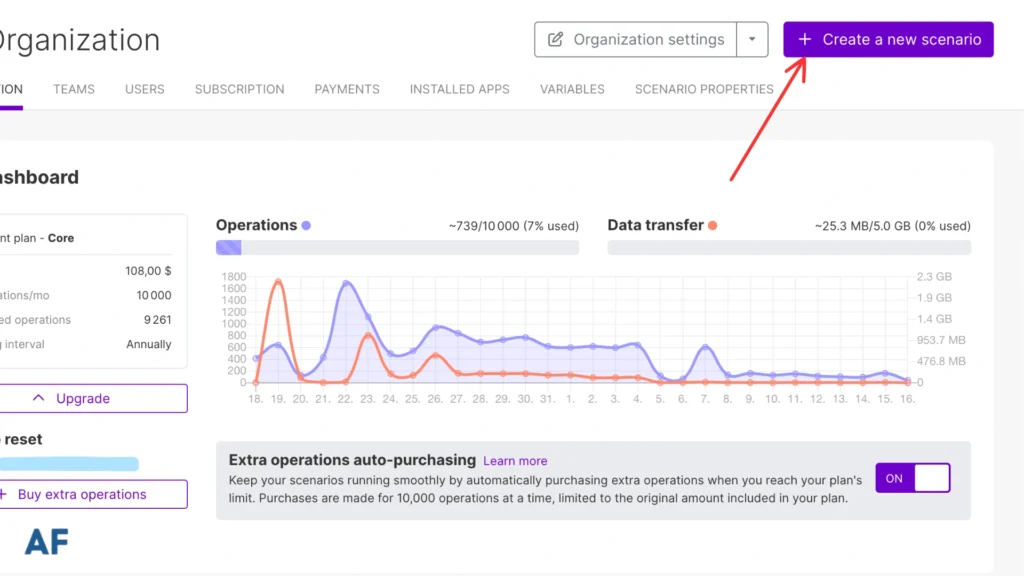
Step 1: Create a New Scenario
Let’s start by creating your scenario
Step 2: Add Your First Module
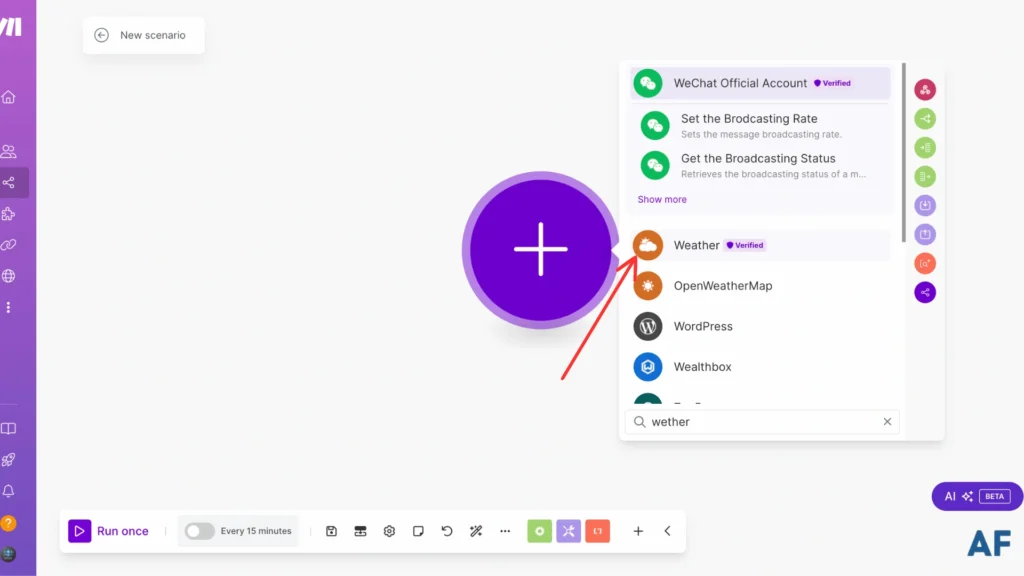
Now, let’s add your first module. For this example, we’ll use the Weather module. Go to the search bar, type in ‘weather‘, and click on the Weather app when it pops up.
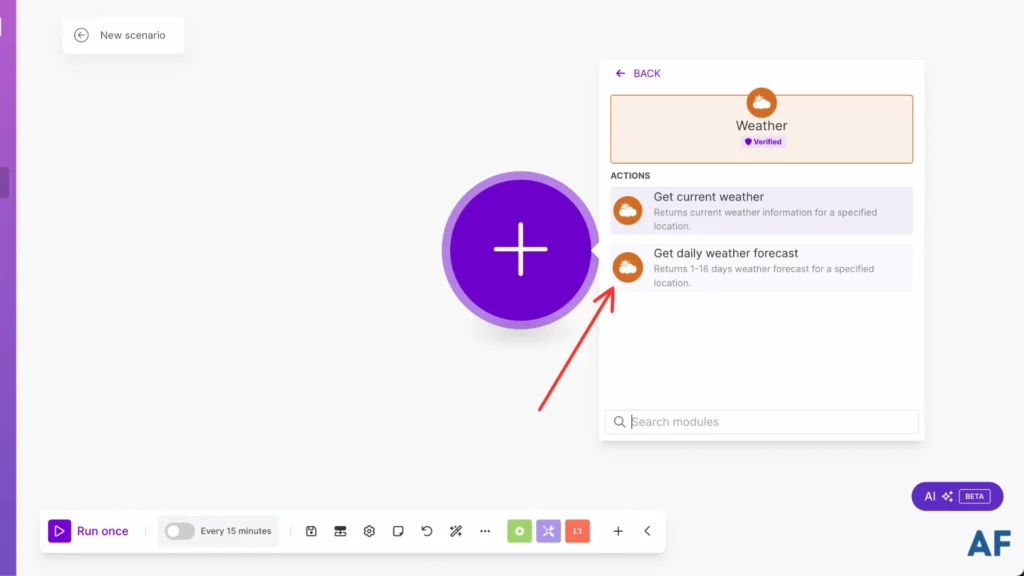
Look for the ‘Get daily forecast‘ option and click on it, that’s the one we want!
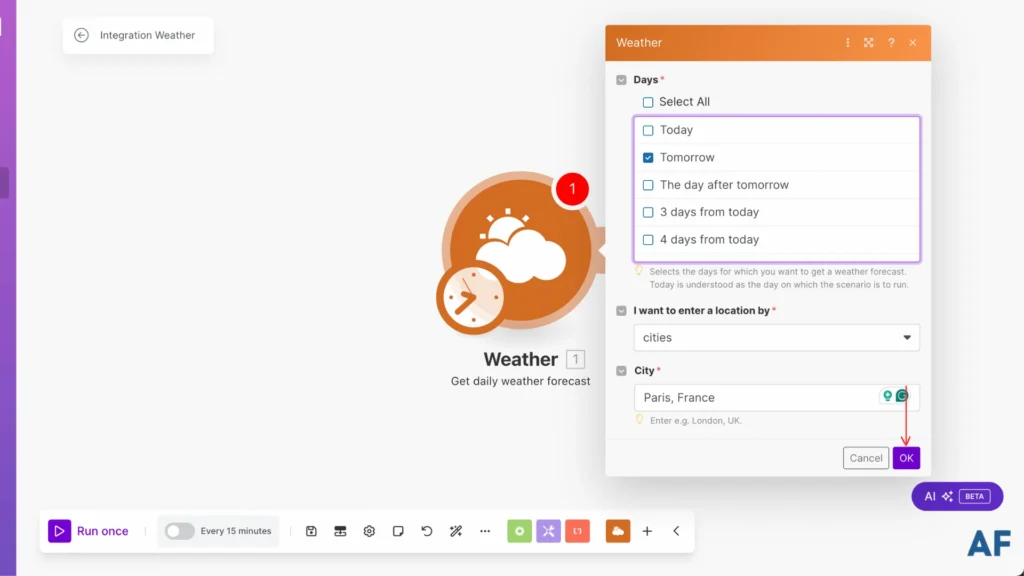
Following along with what I did in the image, I picked Paris as my city and set it to show tomorrow’s weather forecast. It’s pretty straightforward. Just pick your city, select when you want the forecast (I went with tomorrow), and hit ‘OK‘ when you’re done!
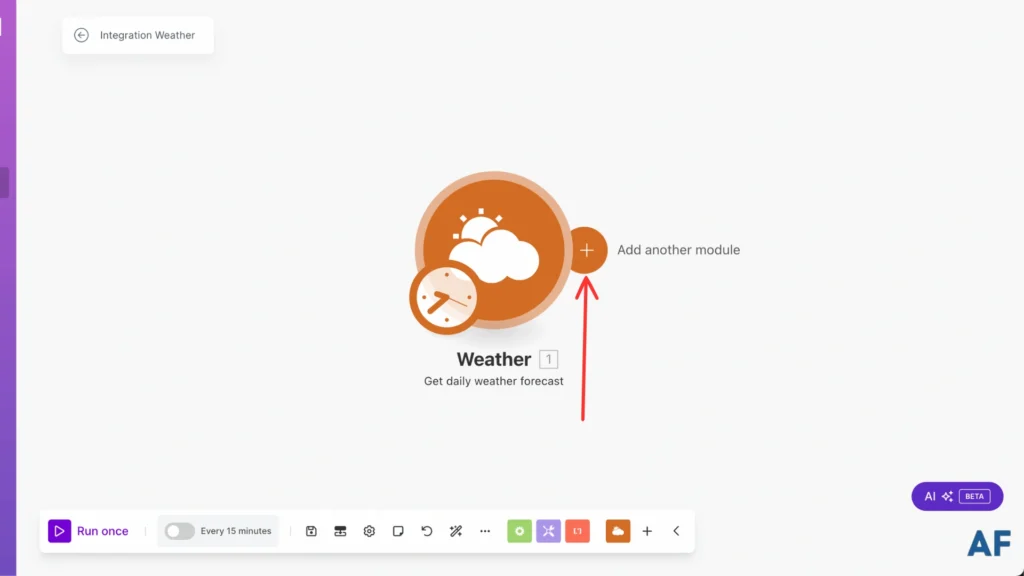
Step 3: Add Notification Module
Ready to add another module? Let’s keep building!
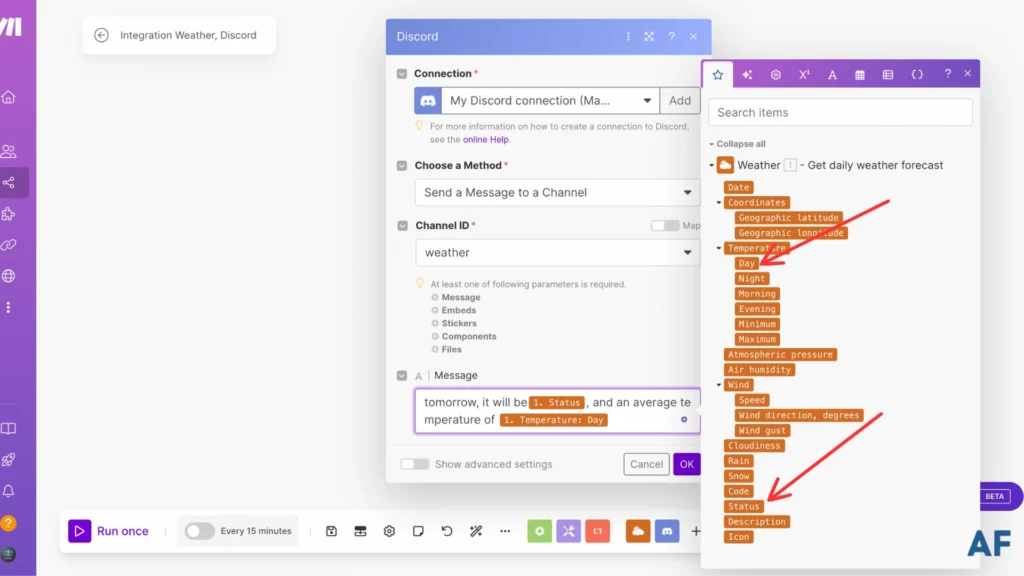
Now, type ‘Discord‘ in the search bar and select ‘Send a message.’ I personally love using Discord for this; it’s super user-friendly! Of course, you can pick any notification app you like (there are many great options), but I’m going with Discord since I use it all the time and know my way around it.

I’ll show you what I did for the message: I included the weather status and temperature. Feel free to copy my setup or get creative with your own message format!
Step 4: See Your Notification
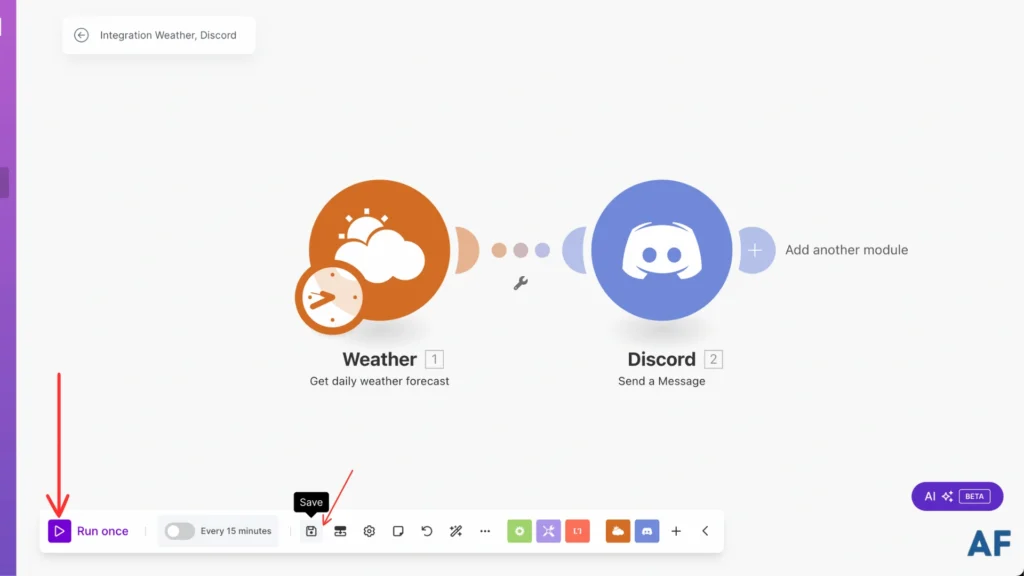
Are you all set? Great! Just hit save and give your scenario a test run to see it in action!
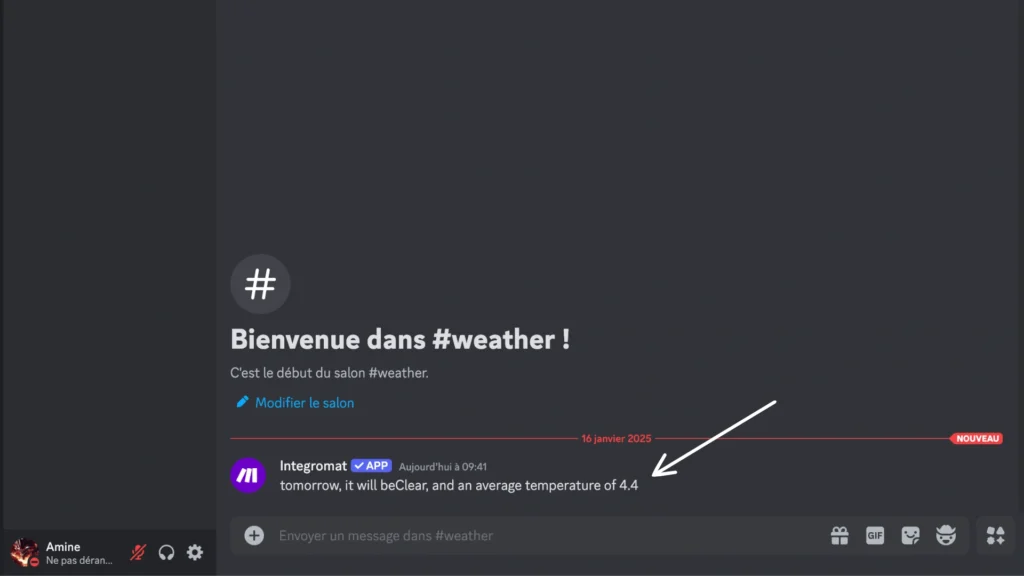
Success! The scenario just ran smoothly, and boom, the weather update landed right in my Discord channel, precisely as planned.
Step 3: Set Up the Schedule
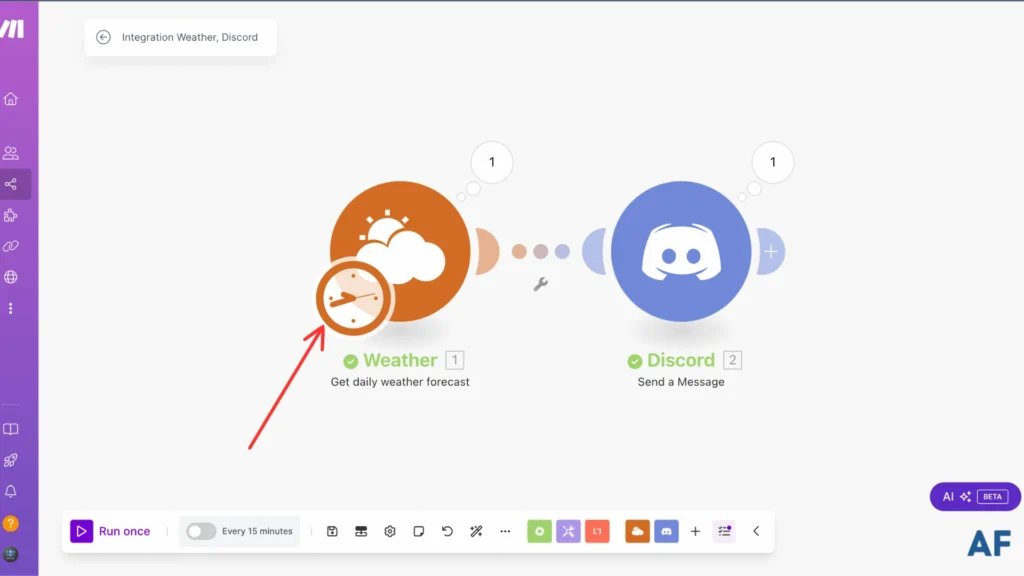
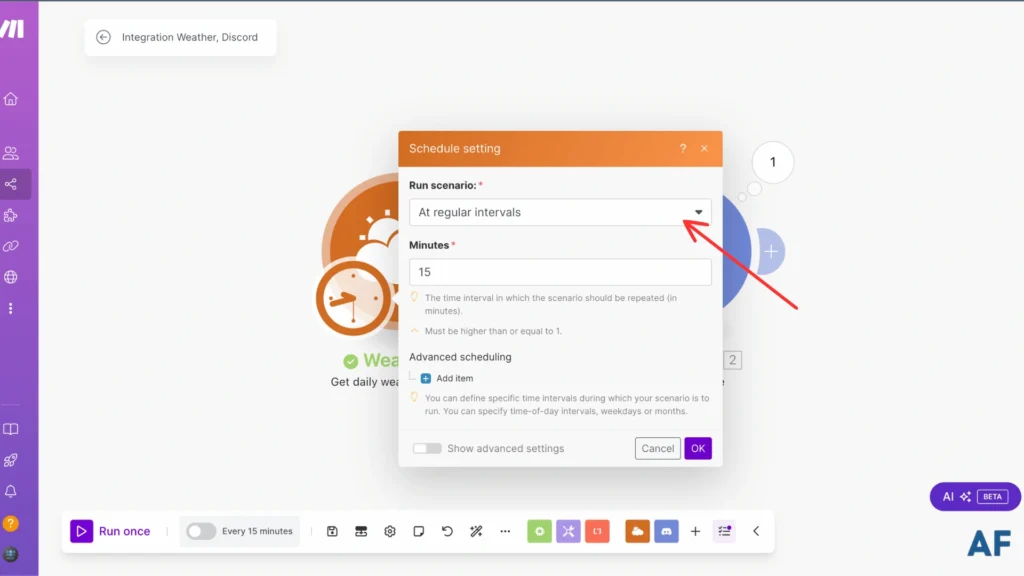
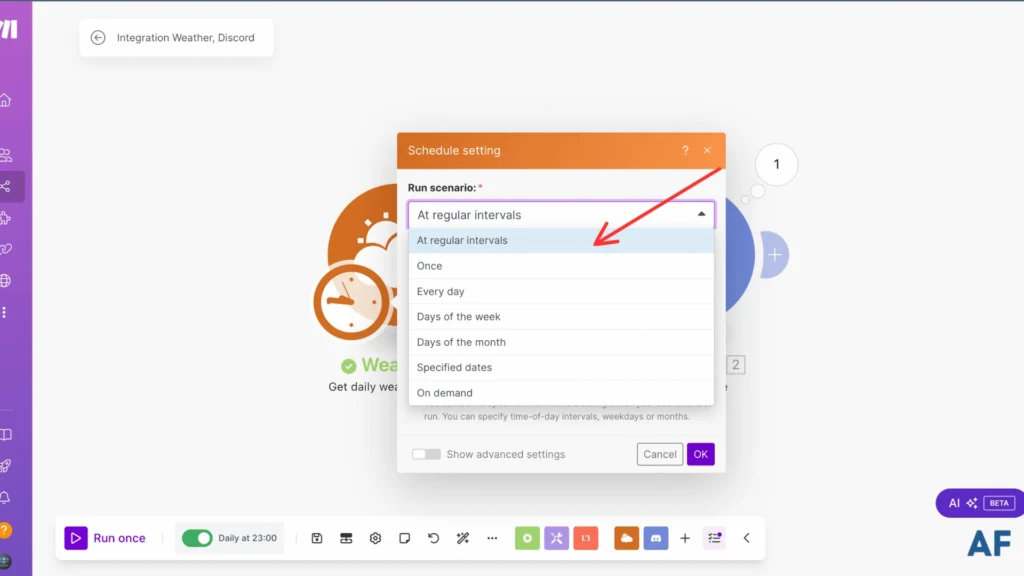
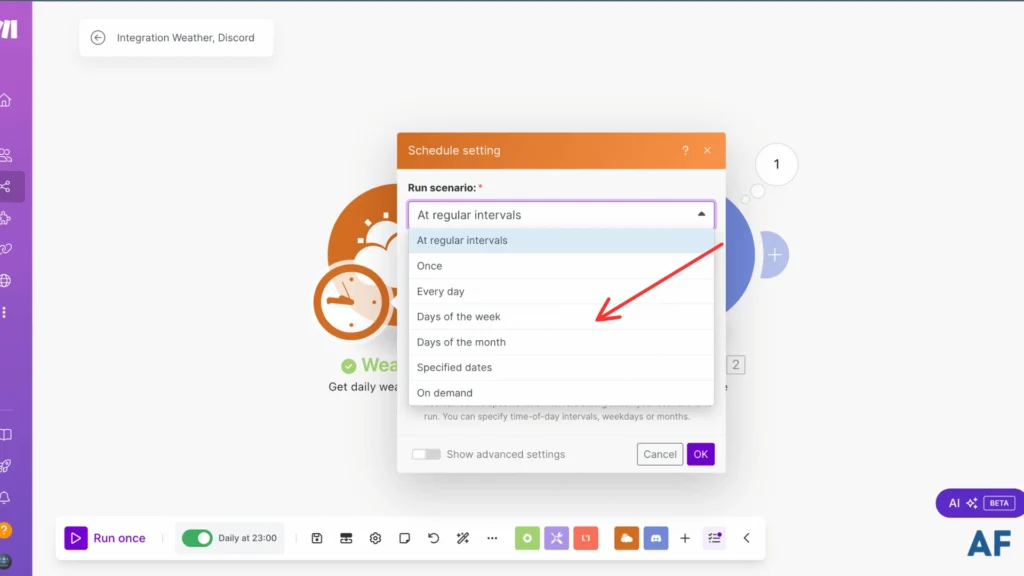
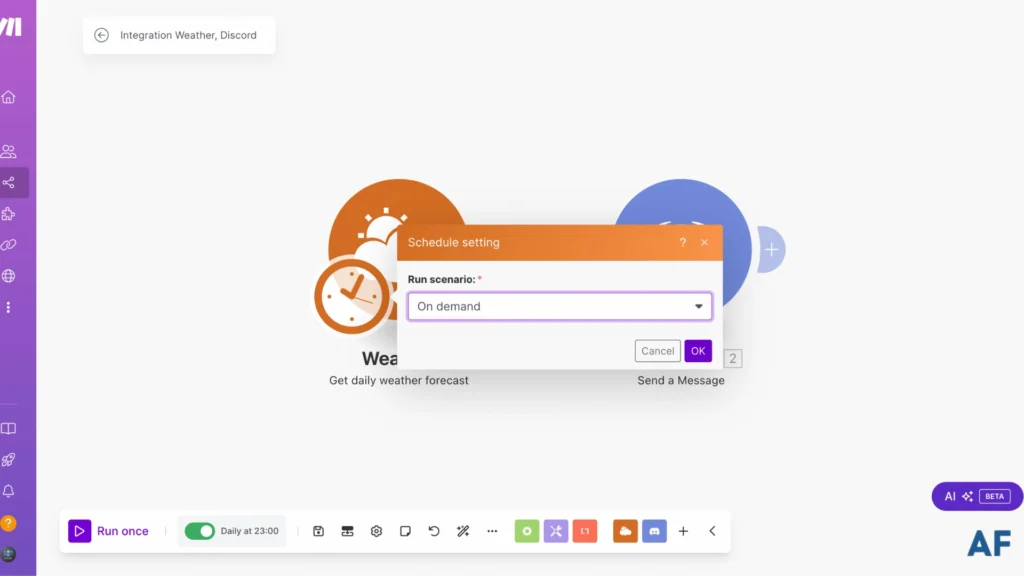
Awesome! Since everything’s working perfectly, let’s set this up to run automatically. Just look for the time icon, that’s where we’ll schedule your automation to run whenever you want it to!
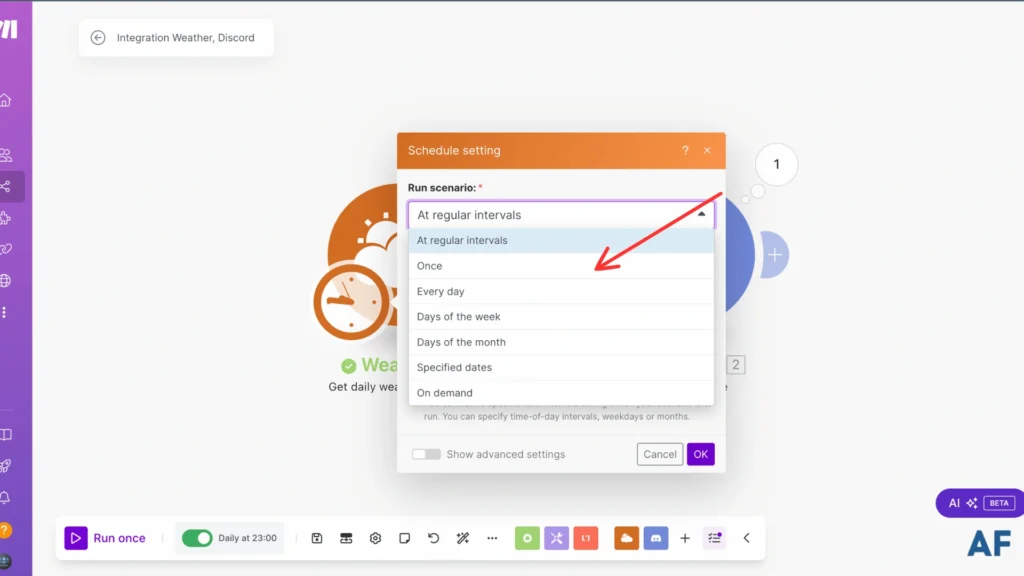
When this menu pops up, check out the ‘at regular intervals’ option; it’ll show you many different timing choices you can pick from!
I chose ‘every day‘ because I want my weather updates to appear daily. It’s perfect for keeping tabs on tomorrow’s forecast!
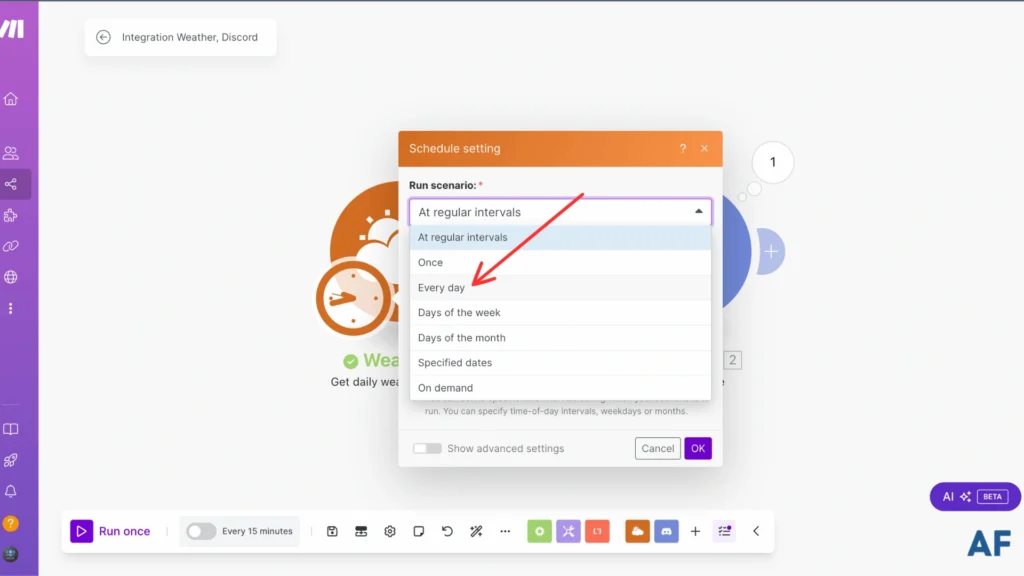
Then you can pick what time you want this to run; I set mine for 11 PM each night, but you can choose whatever time works best for you!

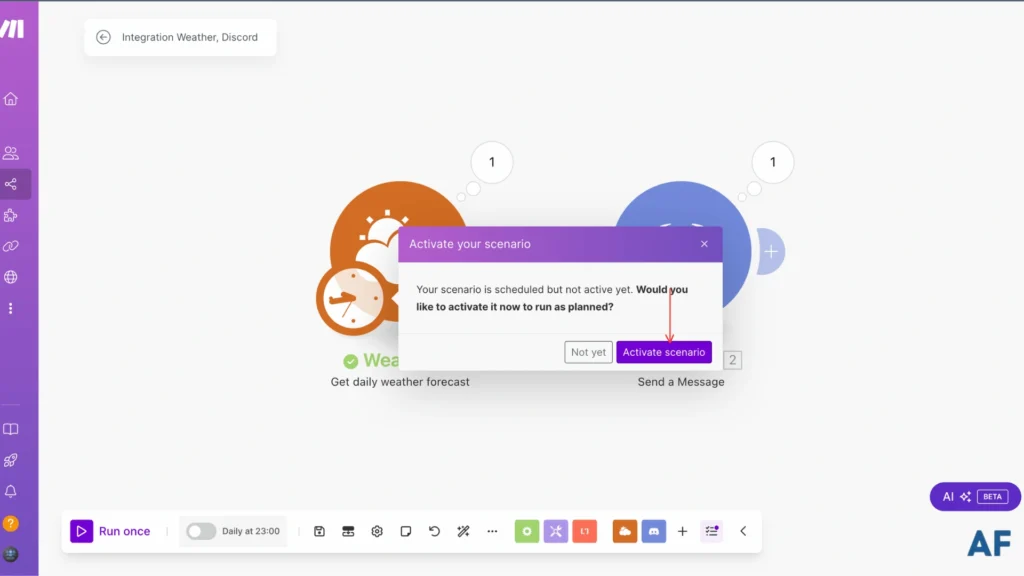
Step 6: Activate the scenario
Ready to wrap this up? Hit that ‘Activate scenario‘ button, and you’ll be ready!
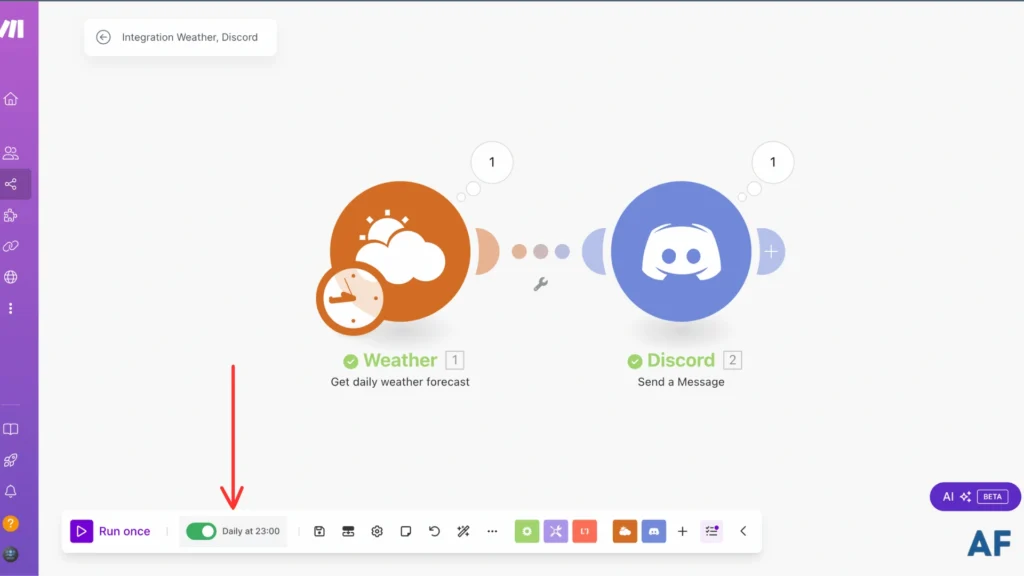
Look at that; the switch has flipped on, which means your automation is now up and running!
Periodically check the performance and logs of your scheduled scenarios. Adjustments may be required to improve efficiency or to adapt to changing business needs.
By following these steps, you can effectively schedule automation in Make.com. This allows your processes to run smoothly and autonomously, saving you time and reducing the potential for human error. Whether you’re looking to automate reminders, reports, data synchronization, or any other recurring task, scheduling this automation can significantly enhance productivity and reliability.
Different Types of Scheduling
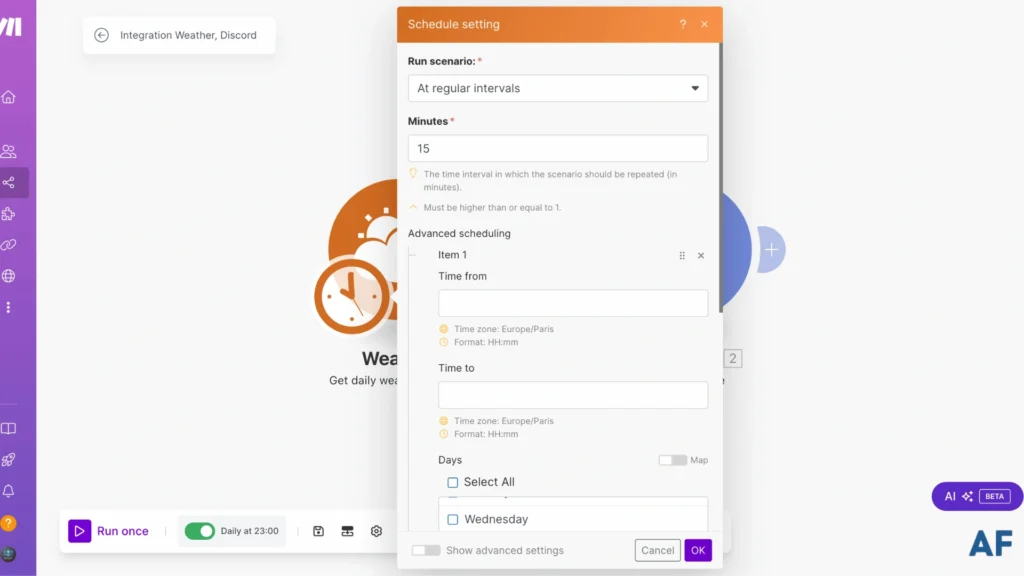
At regular Intervals
The cool thing about these interval settings is how flexible they are! You can set it to run super frequently, like every 15 minutes, or get specific. For example, you could have it run every 15 minutes just between 9:00 PM and 10:00 PM. It’s totally up to you to decide what works best for your needs!
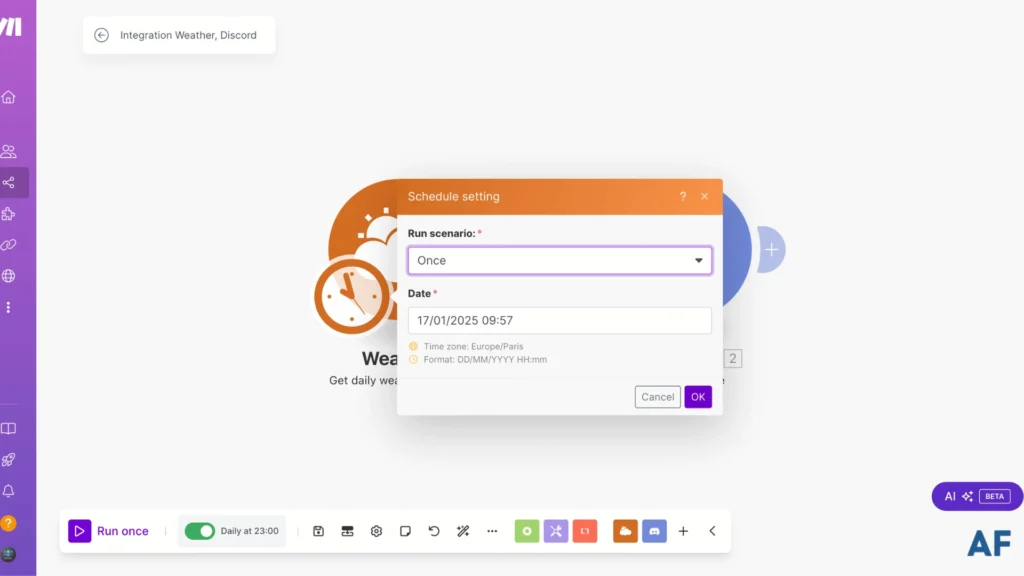
Once
With this type of schedule, your automation will only run once and that’s it. It’s perfect for those one-time tasks!
Every Day
Remember what we set up earlier? This is the same daily option. It’ll run your automation every single day at whatever time you choose. Pretty handy, right? You need to pick the time to run, and it’ll take care of the rest automatically!
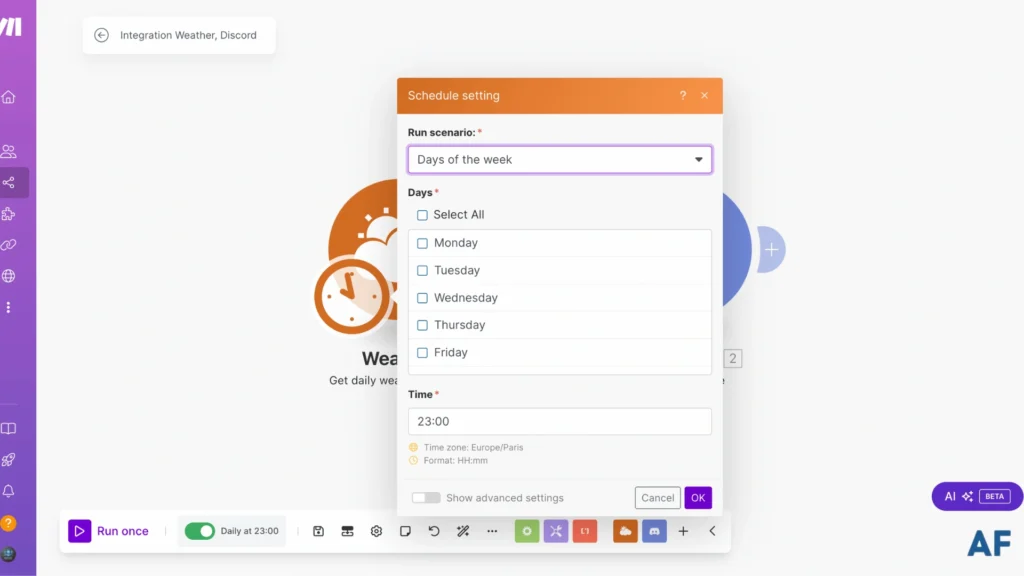
Days of the week
With this scheduling option, you have control over specific days of the week. Want it to run just on Mondays at 11 p.m.? You can do that! Need it for multiple days? That works, too! Pick whatever combination of days works best for you.
Days of the month
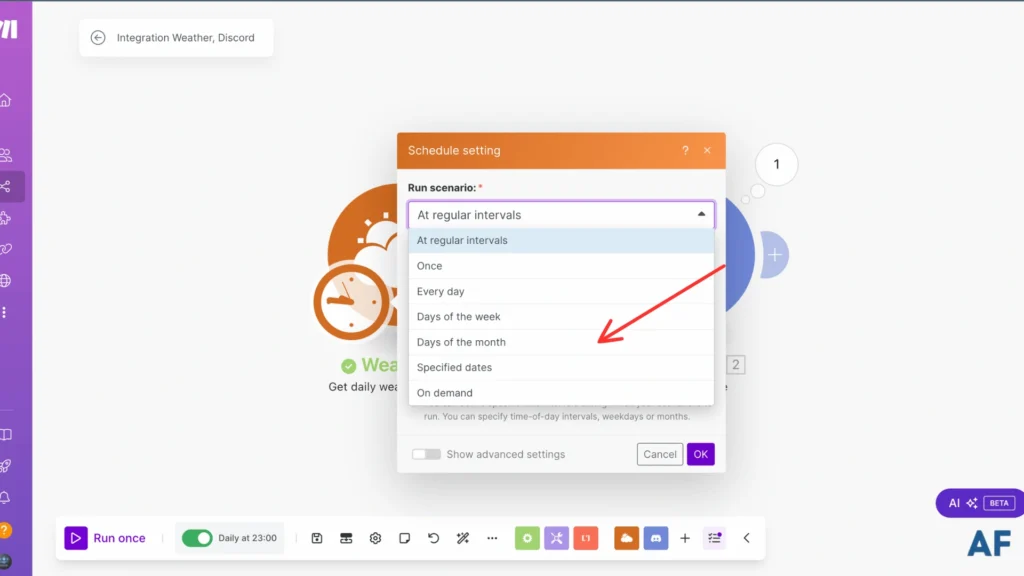
This option lets you pick specific dates in the month to run your automation. Say you only want it to run on the 1st, 15th, and 30th. You can totally do that! It’s perfect when you need something to happen on certain dates rather than specific days of the week.

Specified dates

This is perfect when you need to target really specific dates, you can dial in exactly which month, which days, and what time you want your automation to kick in. Maybe you want something to run on March 15th at 3 PM? This is where you’d set that up!

On demand
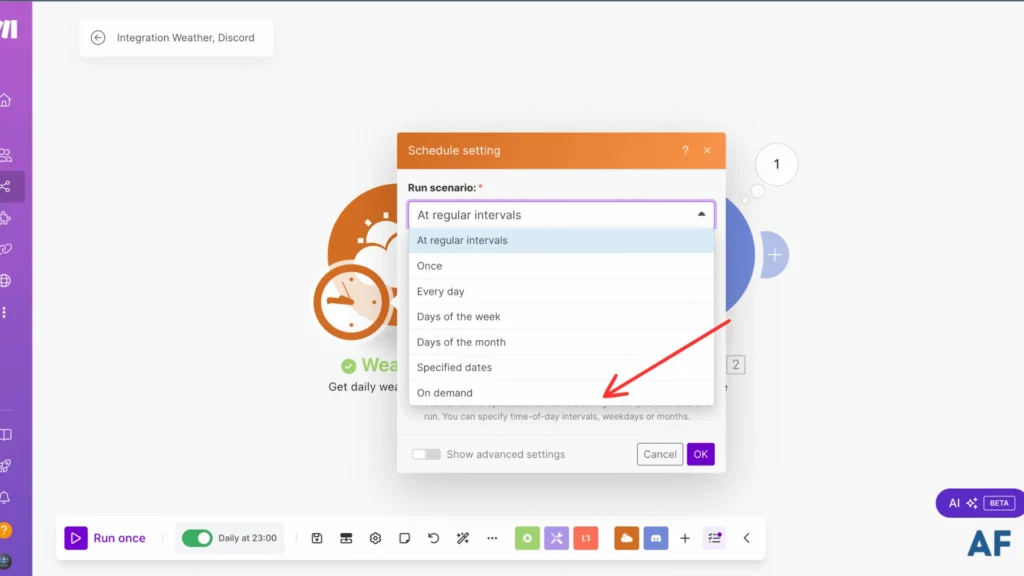
If you pick ‘on demand,’ keep in mind that nothing happens automatically; you’ll need to start the scenario yourself each time manually you want it to run rather than having it run on its own!
Conclusion
Now, you’re equipped with everything you need to master scheduling in Make! Remember, effective scheduling isn’t just about setting times; it’s about optimizing your entire workflow for success. Start implementing these techniques today, and don’t forget to monitor and adjust your schedules regularly as needed.
FAQs
What is schedule automation?
Schedule automation allows your tasks to run automatically at specific times without manually triggering them.
How to make an effective schedule?
The key to an effective schedule is matching your automation timing with your needs. Start by identifying when you really need the task to run—is it daily reports? Those might be best early in the morning. Customer data sync? Maybe that’s better during off-hours. Then, use Make’s scheduling options (like daily, weekly, or custom intervals) to set it up. Please keep it simple at first and adjust it based on how it performs.

Further Resources
- How to Automate Facebook Posts with Make
- How to Set Up Webhooks in Make: Complete Guide
- How to Automate Photo Posts on Reddit with Make
- How to Easily Use the Router Module in Make
- How to Automate Instagram Posts with Make
- How to Automate YouTube Shorts with Make
- How to Automate Twitter with Make
- How to Automate Photo Pins on Pinterest with Make